Every once in a while I get the urge to tie-dye. Years ago the quickest and easiest option was RIT Dye, well not anymore! I recently received some samples of Tulip’s Permanent Fabric Dye to try. I was impressed with the vivid colors that were available, very bright and modern.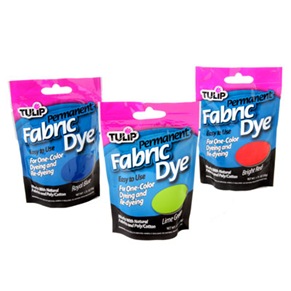 This dye is super easy to use, all you need is steaming hot water and 1/4 c. of salt. I had several colors to experiment with and this is what I came up with. I used 1 yard pieces of 100% cotton knit fabric for my samples.
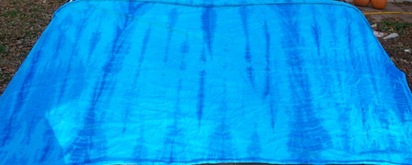 The blue fabric is Royal Blue and Teal. First I roughly pleated the fabric and bound it with acrylic yarn (that’s what was handy and I have tons to spare). I immersed it in the Royal Blue, agitating it for the first 15 minutes and then allowing it to soak for another 45 minutes. I then rinsed and removed the yarn, I have this really awesome feature on my new HE washing machine that rinses and spins the fabric, yay! I then immersed the damp fabric in a vat of Teal dye agitating and soaking in the same way, rinsed and dried.
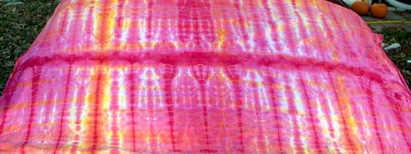 The Red fabric is made using Bright Red and Sunshine dye (there is a lot more yellow in person that isn’t showing up in this photo). I carefully pleated the fabric vertically and then bound it with acrylic yarn. It was then immersed in the Bright Red dye, agitated and soaked for an hour. Then it was rinsed and the yarn removed. I then carefully pleated the fabric horizontally and re-tied it with yarn. It was then immersed in the Sunshine dye, agitated and soaked for an hour, rinsed and untied, then dried.
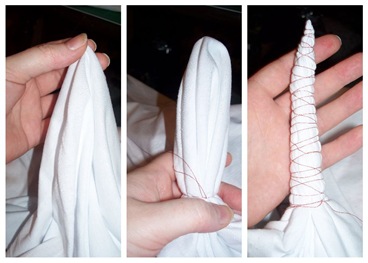
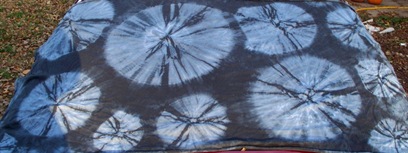 The black fabric was made using black dye. I decided where the center of the bulls-eye would be and then I wrapped it with string, hopefully this picture explains what I did.
I did this randomly all over my piece of fabric, it looked really strange when I was finished.
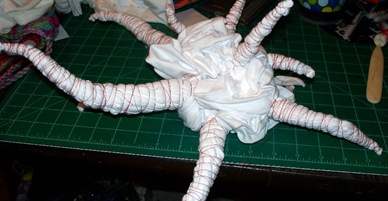 This time I immersed it in the Black dye and agitated and soaked it for an hour, rinsed it, removed the strings, and dried it.
I was very pleased with how easy this product is to use, and the results are great, vivid, rich colors and not having to boil the darker colors (like RIT dye) is a big plus! I was also able to achieve lighter, pastel colors by only immersing the fabric for 10 – 15 minutes.
Tulip has an entire line of products for dying fabric, like custom color mixing kits, tie-dying kits, and resists to use, and I think I will be trying a few of them as well.
If you would like to see more projects using Tulip dyes check out this e-book from Favecrafts, there are 28 projects organized by 18 different dye techniques, with step-by-step photo instructions! And if you would like to get some Tulip dye of your own you can order it directly from ilovetocreate.com, enter the code “fave1009” to receive free shipping until November 30, 2009.
What technique do you like the best and what should I make with all this fabric?


No comments:
Post a Comment