I know that the image that styrofoam brings to mind and jewelry in that medium doesn’t sound very attractive, but really this is a fun recycling project that you can do with your older children. I remember doing this with my Mom and when I noticed these pink and black trays waiting to be recycled I was reminded of this simple project.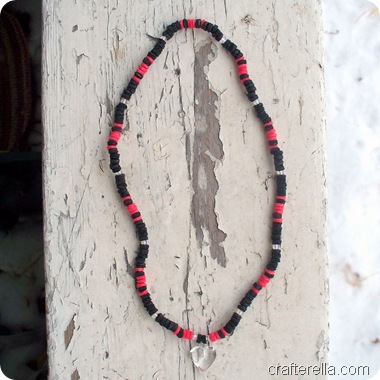 You will need styrofoam meat trays, scissors, a hole punch, a needle, thread, some coordinating beads, a pendant (optional) and some jewelry findings if you want to add a clasp to your finished pieces.
 Start by cutting the curved edges off the meat trays. You’ll want to have a nice flat piece of styrofoam. Using the hole punch, punch holes all around the edge of your tray. Save the dots and cut off the punched part of the tray and punch around the edge again. You will need a large collection of dots to make your necklace/bracelet.
 Select some matching beads, I used some large seed beads and thread you needle. I like to use fishing line for this project, it has a little stretch and doesn’t knot or tangle when you’re using it.
  Start stringing your dots, I like to use a repeating pattern, but randomness works too. Add a few beads in with the holes for some sparkle. The styrofoam is really light weight and the beads help the necklace hang better, adding a pendant is great too. Knot the ends together (or use bead caps with jump rings and clasps) and there you have a new necklace or bracelet. These are great fun to make and go great with paper beads, home made shrinky dinks, and plastic bottle beads.
 I know this tutorial seems a bit rushed, but today is a no school day (and the start of a four day weekend) and my little helper was getting impatient to go and do other things.
Have a super crafty weekend, see you next week!


